Winters are still far off but preparing for them isn't a bad idea. So I planned to knit fingerless mittens during the weekend. Fingerless mittens because not only the mitten keeps hands warm but also set your fingers free to operate any devices (Smartphone in his case).

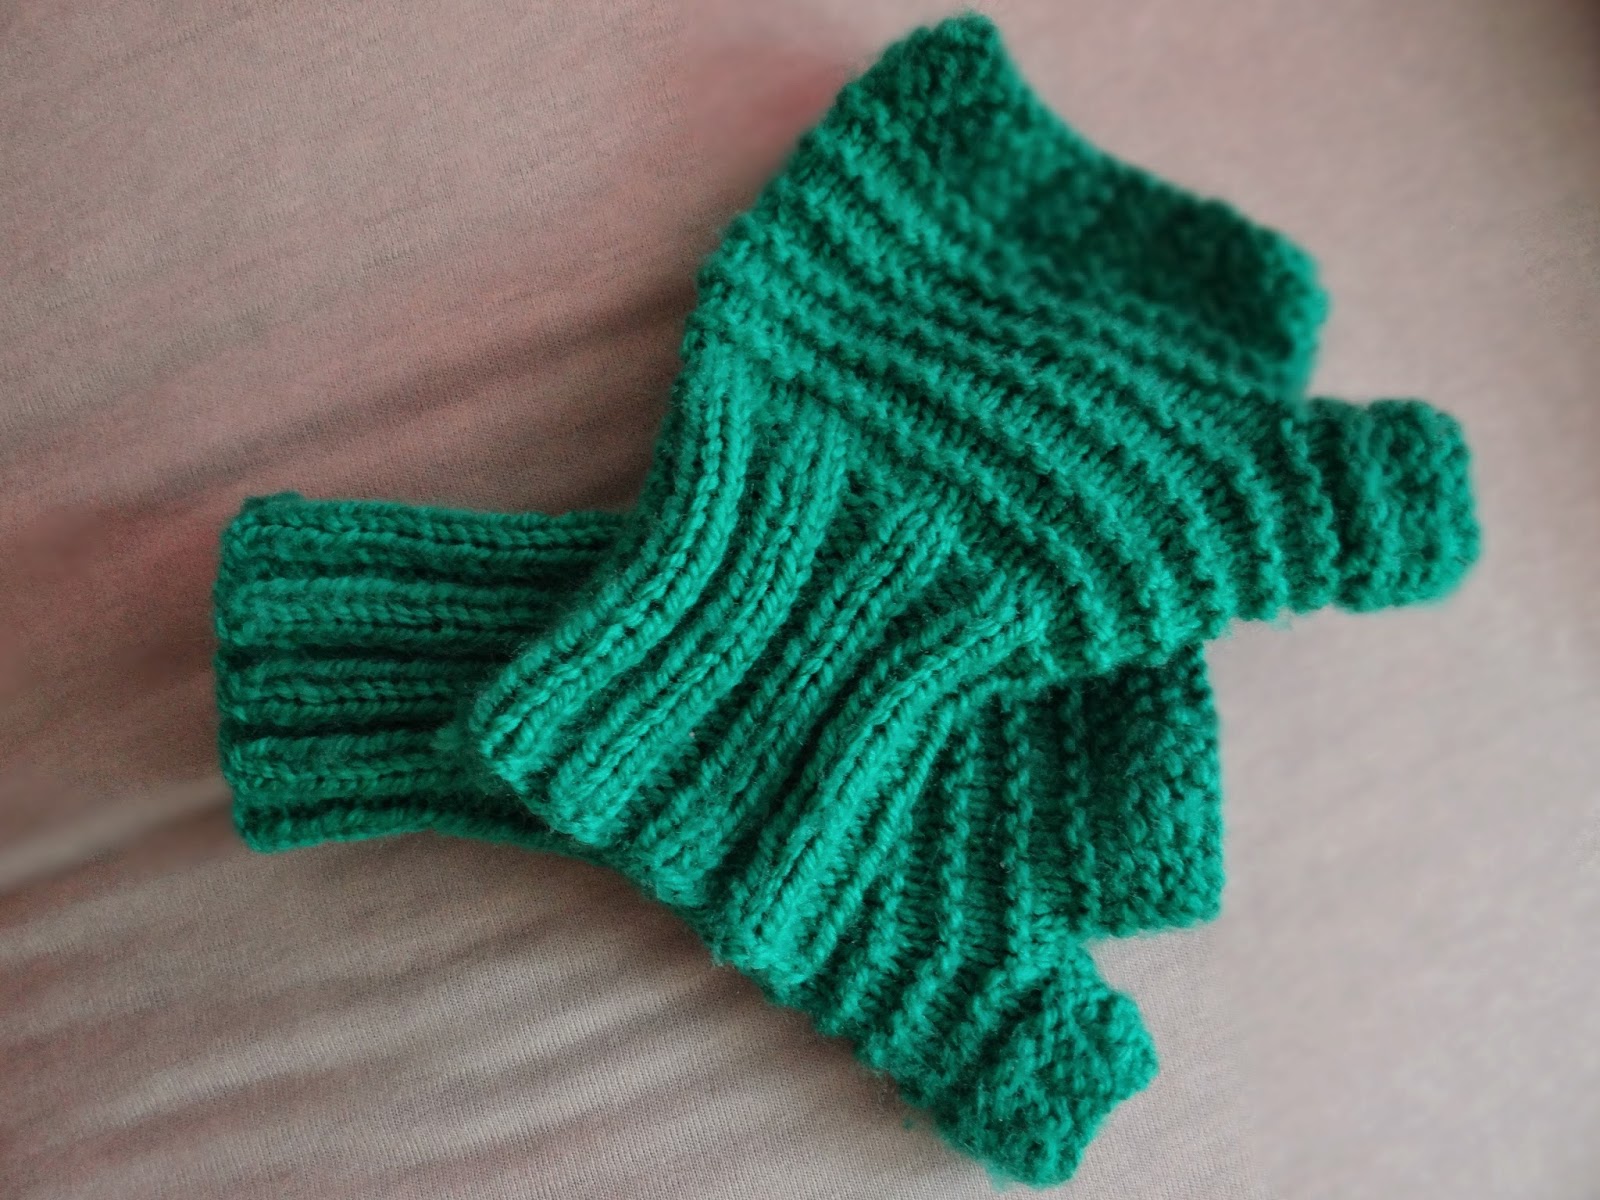
So I hit off with a trendy green colour yarn and ended up with this beautiful looking mitten. For the pattern of the mitten, follow these directions,
KEY TERMS:
K: knit, P: Purl, Kfb: knit front to back
PATTERN:
Step 1: Cast on 36 stitches on straight needles
Step 2: Work K2, P2 ribbing for 4 inches or for desired length(this will create the base of the mitten that fits around your wrist)
Step 3: K next row while evenly increasing 4 stitches (total 40 stitches)
Step 4: P entire row
Step 5: K entire row
Step 6: K18, Kfb, K2, Kfb, K18 (thumb increase)
Step 7: K entire row
Step 8: P entire row
Step 9: K entire row
Step 10: K18, Kfb, K4, Kfb, K18
Step 11: K entire row
Step 12: P entire row
Step 13: K entire row
Step 14: K18, Kfb, K6, Kfb, K18
Step 15: K entire row
Step 16: Purl entire row
Step 17: K entire row
Step 18: K18, Kfb, K8, Kfb, K18
Step 19: K entire row
Step 20: P entire row
Step 21: K entire row
Step 22: K18, Kfb, K10, Kfb, K18
Step 23: K entire row
Step 24: P entire row
Step 25: K 18 and place them onto holder or another needle (Set 1), continue knitting next 14 stitches (Set 2), Knit the remaining 18 stitches and place them onto holder or another needle (Set 3).
SHAPING UP MITTEN:
WORKING WITH SET 2 (14 stitches):
Step 26: K row
Step 27: P row
Step 28: Work K2, P2 ribbing for next four rows and bind off little loosely.
WORKING WITH SET 1 (18 stitches):
Step 29: K18
Step 30: K row
Step 31: P row
Step 32: Work K2, P2 ribbing for next four rows and bind off loosely
WORKING WITH SET 3 (18 stitches):
Step 33: K 18
Step 34: K row
Step 34: P row
Step 35: Work K2, P2 ribbing for next four rows and bind off loosely.
FINISH OFF by sewing the open ends tightly.
Make the another mitten following the same pattern and you are done.
 SO EASY IT IS! :-)
So I hit off with a trendy green colour yarn and ended up with this beautiful looking mitten. For the pattern of the mitten, follow these directions,
KEY TERMS:
K: knit, P: Purl, Kfb: knit front to back
PATTERN:
Step 1: Cast on 36 stitches on straight needles
Step 2: Work K2, P2 ribbing for 4 inches or for desired length(this will create the base of the mitten that fits around your wrist)
Step 3: K next row while evenly increasing 4 stitches (total 40 stitches)
Step 4: P entire row
Step 5: K entire row
Step 6: K18, Kfb, K2, Kfb, K18 (thumb increase)
Step 7: K entire row
Step 8: P entire row
Step 9: K entire row
Step 10: K18, Kfb, K4, Kfb, K18
Step 11: K entire row
Step 12: P entire row
Step 13: K entire row
Step 14: K18, Kfb, K6, Kfb, K18
Step 15: K entire row
Step 16: Purl entire row
Step 17: K entire row
Step 18: K18, Kfb, K8, Kfb, K18
Step 19: K entire row
Step 20: P entire row
Step 21: K entire row
Step 22: K18, Kfb, K10, Kfb, K18
Step 23: K entire row
Step 24: P entire row
Step 25: K 18 and place them onto holder or another needle (Set 1), continue knitting next 14 stitches (Set 2), Knit the remaining 18 stitches and place them onto holder or another needle (Set 3).
SHAPING UP MITTEN:
WORKING WITH SET 2 (14 stitches):
Step 26: K row
Step 27: P row
Step 28: Work K2, P2 ribbing for next four rows and bind off little loosely.
WORKING WITH SET 1 (18 stitches):
Step 29: K18
Step 30: K row
Step 31: P row
Step 32: Work K2, P2 ribbing for next four rows and bind off loosely
WORKING WITH SET 3 (18 stitches):
Step 33: K 18
Step 34: K row
Step 34: P row
Step 35: Work K2, P2 ribbing for next four rows and bind off loosely.
FINISH OFF by sewing the open ends tightly.
Make the another mitten following the same pattern and you are done.
No comments:
Post a Comment